Getting Started
Form Notifications sends an email, a chat post or a webhook request when your Google Form receives a response. You set it up with rules. Here is how to install it and create your first rule.
Installation
- Visit the Google Workspace Marketplace
- Search for "Form Notifications"
- Click Install and follow the prompts
- Grant the requested permissions
Open the editor
- Open your Google Form
- Click the Add-ons (puzzle piece) icon, then Form Notifications, then Start
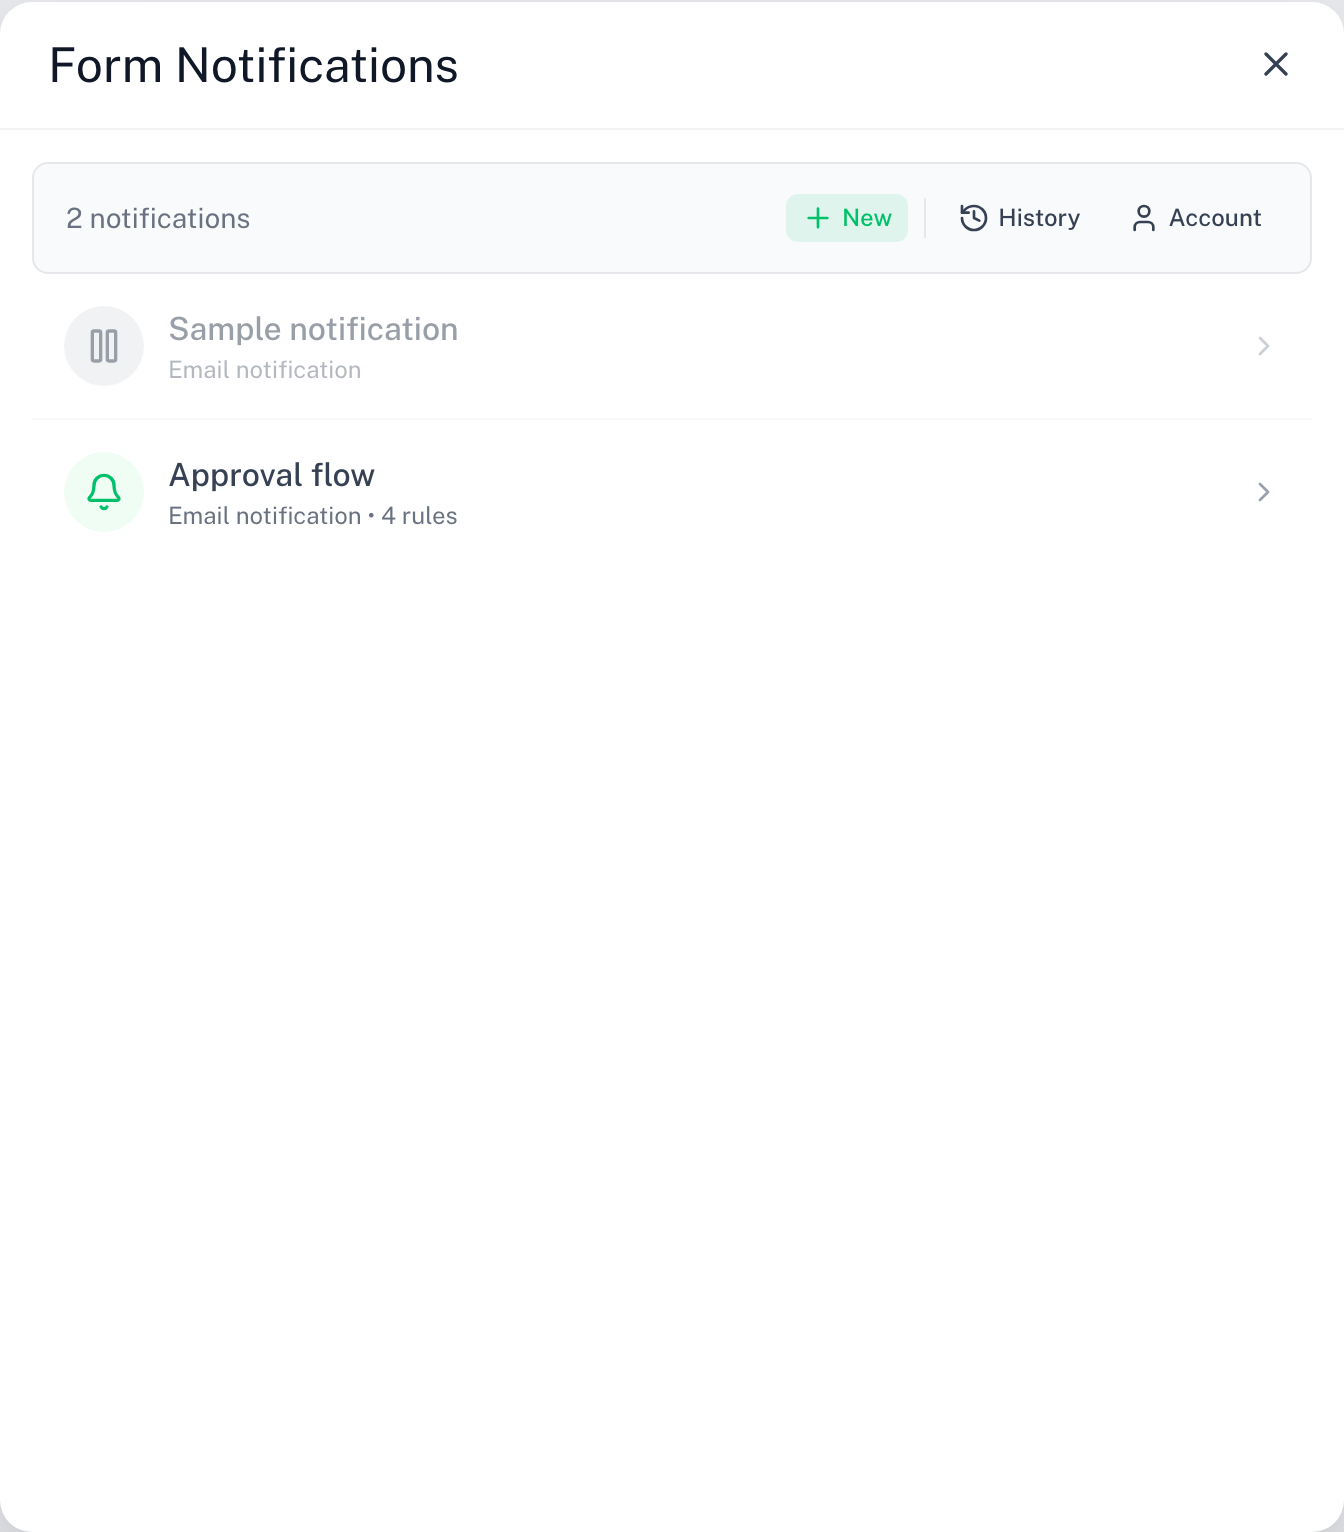
- The editor opens over your form. It shows the rules for this form in one list.
Create your first rule
A new form has no rules, so nothing is sent yet. The empty editor offers three templates:
- Email me every response
- Post every response to Slack
- Hold for approval, then email
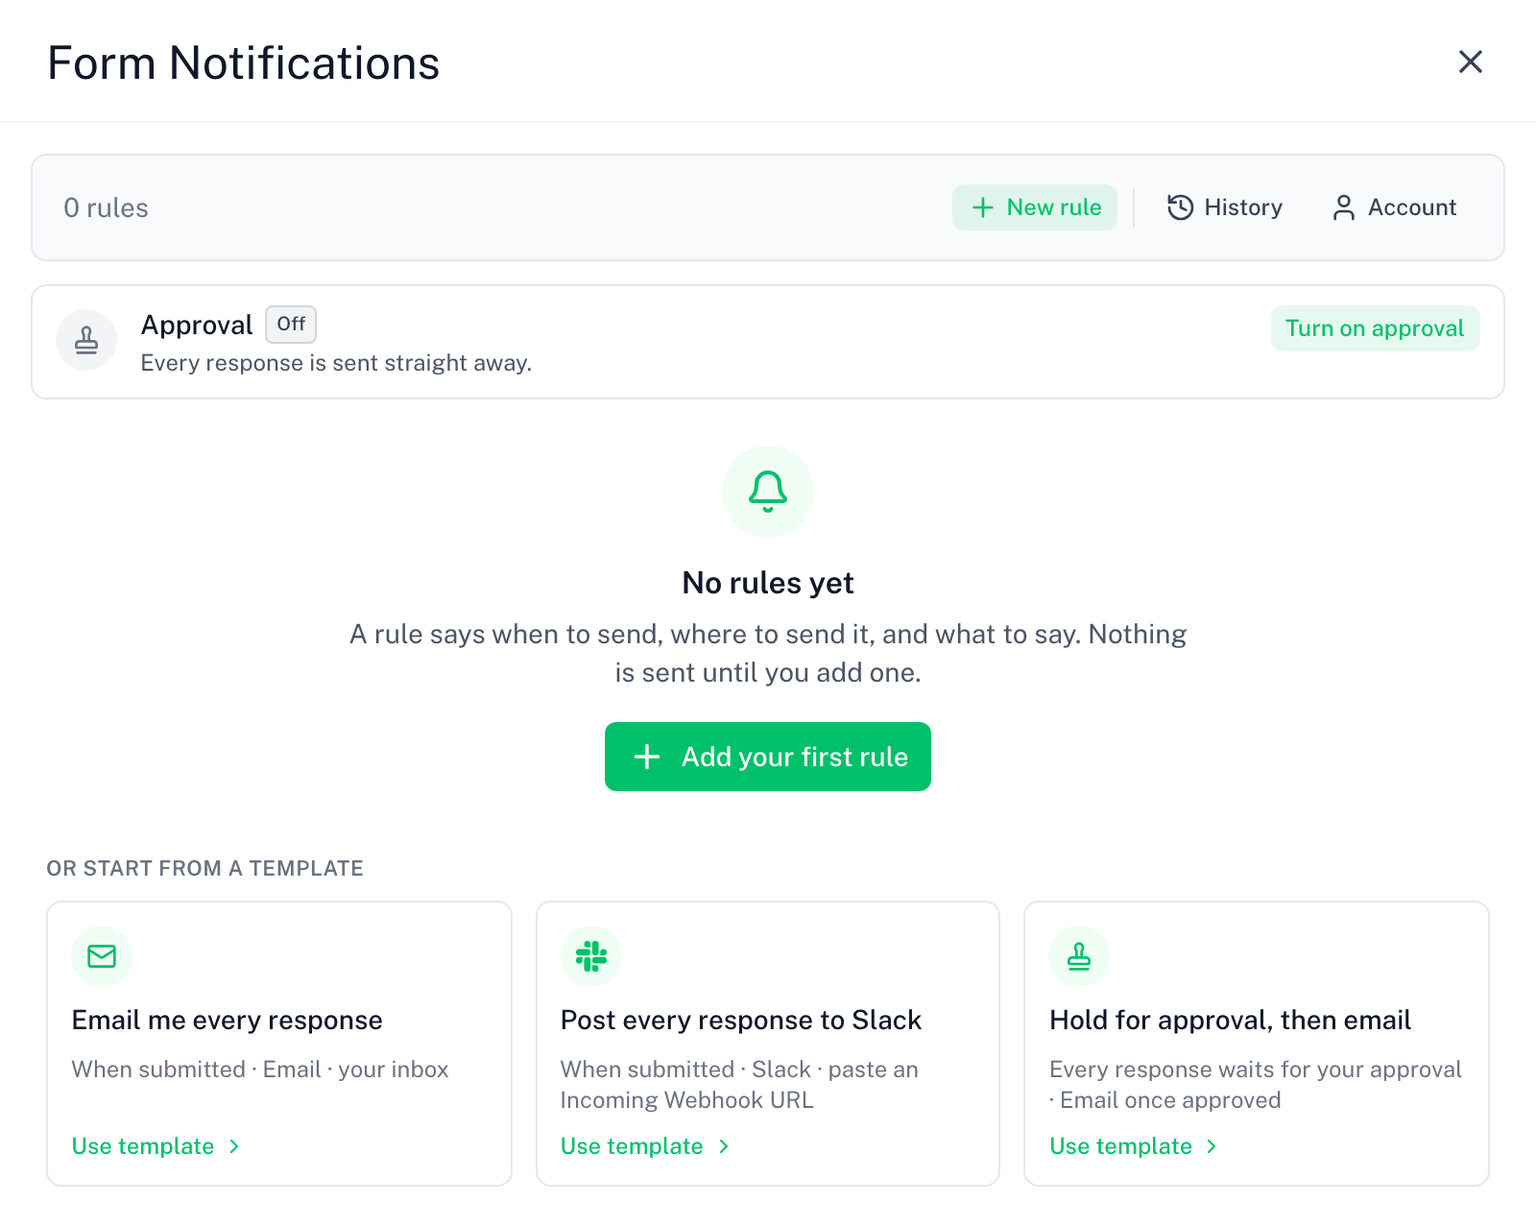
Pick Email me every response, or click + New rule and pick a channel (Email, Slack, Discord, Microsoft Teams or Webhook) to start from scratch. The wizard has three steps:
- When: pick the event under Send when. Every response is the default. Only after approval or When rejected add an approval step, with a person or channel to decide. Add conditions under Only if to send only for some responses, or leave it empty.
- To: the destination. For email, add at least one recipient. For a chat channel or webhook, paste the URL.
- Message: write the subject and body (email) or the text of the post (chat). A sensible default is filled in. Webhooks skip this step: they send fixed JSON.
Click Create rule. The rule is on at once. The next time someone submits the form, it sends.
A rule needs a destination before it can be created or turned on. The wizard tells you what is missing.
How it works, briefly
When someone submits your form, every rule on the form is checked. A rule whose event and conditions match sends its message to its destination, with the answers filled in. Email rules send from your own Google account. Slack, Discord, Teams and webhook rules send from Skyfield's servers.
A rule set to only after approval or when rejected sends its matching responses to an approver first, and fires on their decision. See Approval.
Next steps
- Read how rules work: edit, duplicate, turn off
- Choose who gets emailed
- Personalize the message with merge tags
- Send only some responses with conditions
- Post responses to Slack, Discord or Teams, or to a webhook
- Understand sending limits and what needs a license
- Read the FAQ