
Getting Started
Form Timer publishes your Google Form at a live link and enforces a time limit there. This guide takes you from install to a working timed form.
If you have not read what a timed live form is, start there. It explains what moves and what stays the same.
Installation
- Find Form Timer in the Google Workspace Marketplace
- Click Install and follow the prompts
- Grant the permissions it asks for
Connect your Google account, once
The live form has to read your questions to mirror them, so the first time you open the sidebar it asks you to connect your Google account at skyfield.cloud.
- Open the Google Form you want to time
- Click the Add-ons (puzzle piece) icon, then Form Timer, then Start
- The sidebar shows One step left to go live. Click Connect Google account
- Sign in with the account that owns the form and approve access
- Come back to the form and open the sidebar again
This is a one-time step for your account, not per form. Until it is done, nothing can sync.
Set the time limit
- In the sidebar's Form tab, click the pencil on the Live form settings row. The dialog opens on its Timer tab
- Turn on Limit time to respond
- Set the Time limit in minutes and seconds
- Pick what happens When time runs out
Every change saves as you make it. Close the dialog and the Live form settings row shows the limit, for example 20 min · Auto-submit.
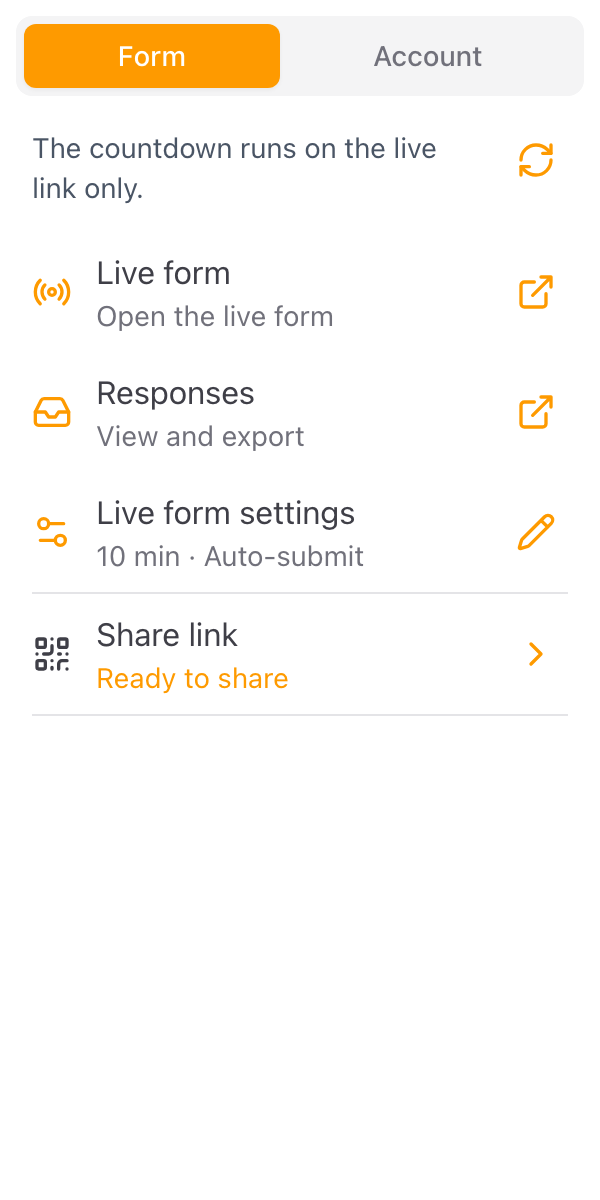
See Set a time limit for every option on the tab.
Close the original and share the live link
The first time a timer is live, the add-on asks whether to close the original Google Form. Answers sent through the original Google Forms link are not timed, so closing it is the recommended choice. Respondents who open the old link are pointed at the live one.
Then click Share link and copy the live link or download its QR code. That link is what you hand out.
Try it yourself first
Open the live link in a private window and press Start. Your test response appears under Responses with the time you took, so you can see exactly what your respondents will.